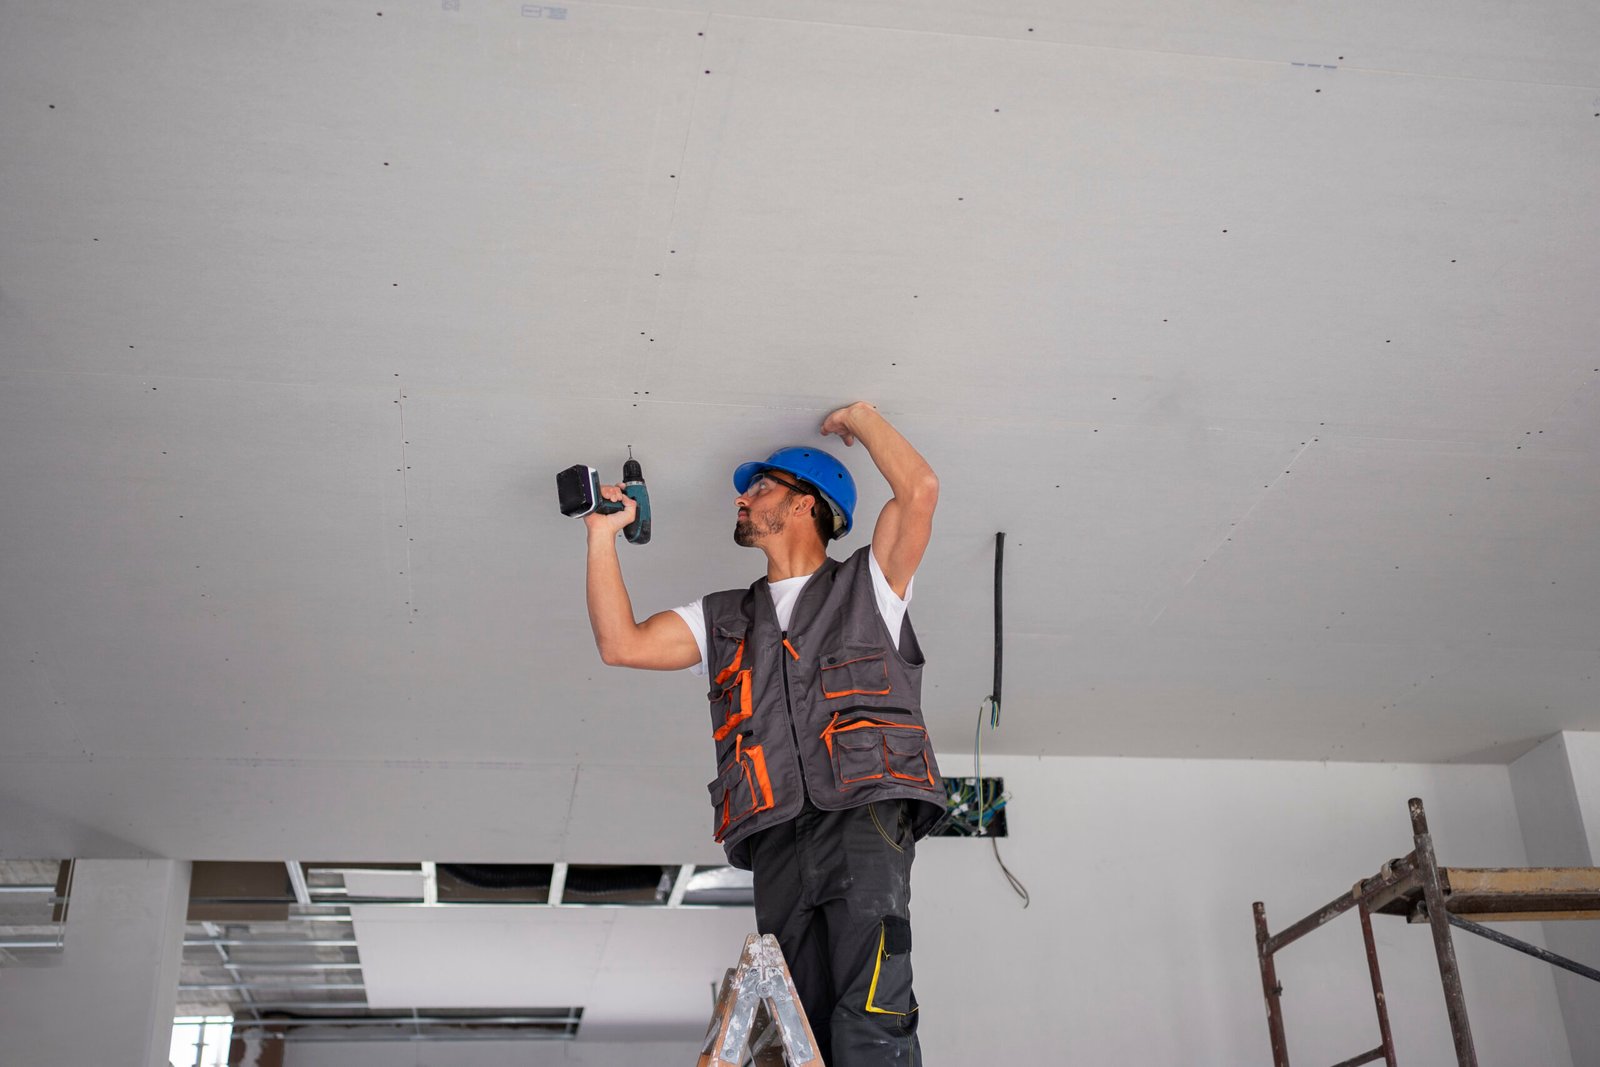
Ceiling Drywall Damage? Here’s How to Easily Repair It
You can’t help seeing it when you look up: a soft bulge where water once leaked, a small crack spreading across the ceiling, or a hole left behind by a blow. Ceiling damage can make an otherwise clean room appear neglected, and because it’s overhead, it often feels more daunting than a wall repair.
The good news is that if the damage is minor and the underlying problem has already been resolved, you can fix many ceiling drywall issues yourself with basic tools and a bit of patience. If the job turns out bigger than you thought, knowing the basics helps you decide when to contact professional drywall repair Naperville providers.
Here’s a simple four-step process to help you bring your ceiling back to a smooth, finished surface.
Step 1: Identify the Type of Damage
Before you start repairing anything, take a moment to examine the damage closely. The type of problem you’re dealing with determines how you should fix it.
If you’re reading this, it’s likely because your ceiling has one of these common issues:
- Hairline cracks, often caused by natural house settling.
- Nail pops, where drywall fasteners push slightly into the surface.
- Small holes, usually caused by impacts or by removed fixtures.
- Water damage, which may have left stains, sagging drywall, or soft spots.
If you see signs of moisture or mold, make sure to address the source of that problem beforehand. Repairing drywall without fixing the cause of the water damage first will only lead to the same problem recurring later.
As you inspect the ceiling, press gently around the damaged area. If the drywall feels too soft or crumbly, chances are you’ll need to remove that section before repairing.
Step 2: Prepare the Area and Clean Loose Material
A clean, solid surface is essential for durable repairs.
Start by protecting the room below with a drop cloth or plastic sheet, since sanding and scraping will create dust you won’t want over your furniture.
Next, remove any loose or damaged material:
- Cut away cracked or sagging drywall with a utility knife.
- Scrape off flaking joint compound.
- Lightly sand rough edges to smooth the surrounding area.
For small cracks or nail pops, you may only need to widen the crack a bit so the new joint compound can adhere properly. For holes or damaged sections, trim the edges to ensure the repair area has a clean, straight edge.
Once you’ve created a stable base, you can move on to the patching process.
Step 3: Patch the Ceiling
With the damaged areas clean and solid, you can start the actual repair.
The method depends on the size of the damage:
- Small cracks or nail pops: apply joint compound over the area with a drywall knife. If the crack is wider, reinforce it with drywall tape.
- Small holes: cover the hole with a self-adhesive mesh patch, then apply joint compound over it.
- Larger holes: cut a piece of drywall to fit the opening, secure it to the framing or a backing support, then apply compound.
Make sure to apply joint compound in thin layers instead of a single thick coat to achieve a more durable finish on the repair. Then use a wide knife to feather the edges, gradually blending the compound into the surrounding ceiling.
Let each coat dry entirely before adding the next one. Two or three layers are usually enough to build a smooth surface.
Step 4: Sand, Prime, and Paint
When the final coat of joint compound has dried, the last step is finishing the repair so it blends seamlessly with the rest of the ceiling.
Start by sanding the repaired area with fine-grit sandpaper. Rely on light pressure and check your progress frequently so that you don’t overdo it. The goal is to smooth the surface without creating dips or uneven spots that will take you back to the patching stage.
When the patch feels flush with the surrounding drywall, wipe away the dust and apply a coat of primer. Don’t neglect this step: primer will help seal the joint compound and ensure the paint adheres evenly.
After the primer dries, apply paint over the repaired area. In many cases, especially if the ceiling paint is older or somewhat discolored, painting the entire ceiling will help you create a more uniform finish.
Ceiling Drywall Repair Made Easy
Repairing ceiling damage can look intimidating at first. Not all of us like climbing up a ladder! But you can definitely repair most small cracks, holes, and bulges with a careful, step-by-step approach.
By identifying the damage, preparing the area, applying a clean patch, and finishing with sanding and paint, you can restore the ceiling and make the repair almost invisible. And if the damage turns out to be more serious than expected, or involves structural or water issues, you’ll know more about the process and the type of professional help you may be looking for.